Professional solutions on concrete addtives, Concrete Foaming Agent, Superplasticizer, CLC Blocks Additives, and foaming machine

The Foam Density Testing Guide: Ensuring Your Lightweight Concrete Stays Stable
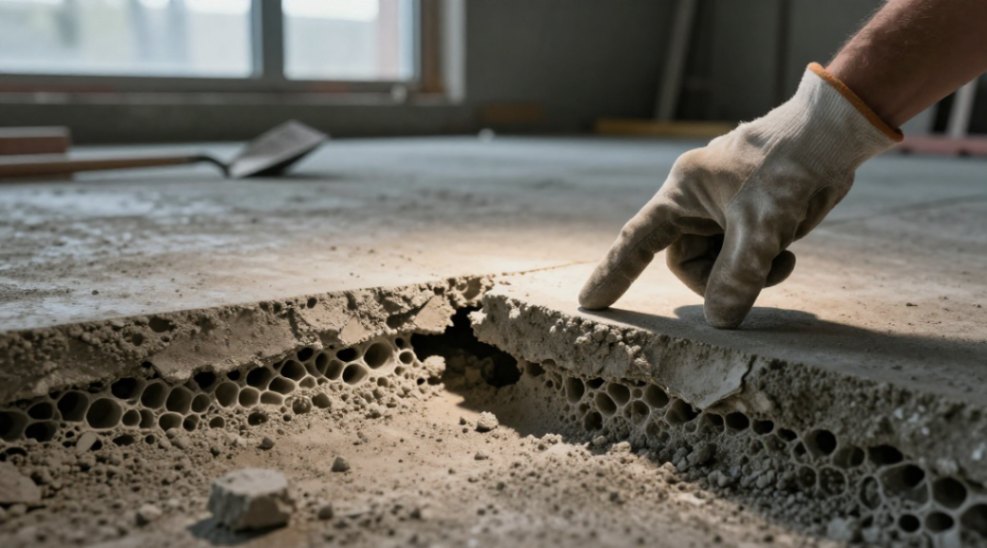
I remember the panic call on a Tuesday. A project manager’s voice was tight. His lightweight concrete floor screed was cracking, weeks before occupancy. The culprit? Inconsistent foam density. The foam’s bubble structure had collapsed, creating weak zones. That’s the moment testing foam density for concrete stability moves from a specification line-item to a survival skill. Let’s walk through how to master it, so your project doesn’t become my Tuesday morning story.
Understanding the Foundation: Density and the Cellular Structure
Foamed concrete isn’t just lightweight cement. It’s a meticulously engineered cellular solid. Imagine billions of tiny, strong bubbles locked in a cement paste matrix. Foam density testing for concrete stability directly measures the quality of this structure. You are essentially checking the health of the air voids.
Wet Density vs. Dry Density: The Two Core Measurements
You must track two distinct densities. The first is fresh or wet density. You measure this immediately after mixing, typically using a known-volume container and a simple balance. It’s your primary on-site quality control check. The second is dry density, measured after the concrete has fully cured and dried. This value determines the final structural and thermal properties. A large discrepancy between wet and dry densities signals excessive water loss or shrinkage.
On user forums like Reddit, many site engineers emphasise one point: “Wet density is your real-time dashboard. Ignore it, and you’re flying blind.” They’re right.
Methods for Testing Foam Density on Site
Field testing needs to be fast and reliable. Here are the two primary approaches you’ll compare.
1. The Simple Container Method (Volume-Weight)
This is the most common technique for fresh density. You fill a pre-weighed container of known volume (like a 1-liter or 1-gallon jug), strike it off level, and weigh it. Subtract the tare weight. The mass divided by the volume gives you the fresh density in kg/m³ or lb/ft³.
- Pros: Incredibly simple. Low cost. Provides an instant go/no-go cheque.
- Cons: Accuracy depends on careful filling. Doesn’t analyse foam bubble structure itself.
2. The Pressure Meter (Foam Stability) Test
This method, guided by standards like ASTM C796, tests the foam before it even enters the mixer. You generate foam and place it in a pressurized cylinder. You then measure the drainage of liquid from the foam under pressure over time. Stable foam shows minimal drainage.
- Pros: Directly measures foam stability. Predicts performance in the mix. Standardized.
- Cons: Requires specific equipment. Adds a step before batching.
Which method should you choose? For routine pours, use the container method every 5-10 truckloads. For a new foam agent or a critical structural element, run the pressure meter test first. Both methods work together.
How Foam Density Drives Final Performance
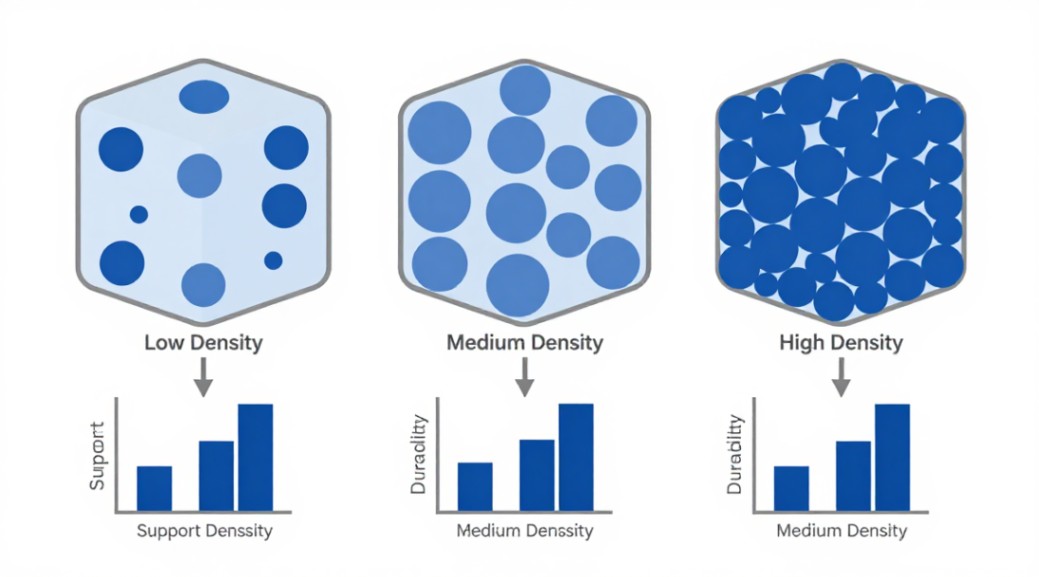
Every property you care about ties back to density.
Compressive Strength and Structural Integrity
The correlation is inverse and non-linear. Lower density means more air, which means less solid material to carry load. A 600 kg/m³ mix will have dramatically lower strength than a 1200 kg/m³ mix. Precise foam density testing ensures you hit the strength specified by the structural engineer.
Thermal Insulation and Soundproofing
Here, lower density is better. More air pockets improve insulation value (R-value) and sound absorption. This is the classic trade-off. You must find the exact density that balances sufficient strength with the required thermal/sound performance for the application.
Calculating for Control: The Water-Cement Ratio
You cannot control density without controlling water. The water-cement (w/c) ratio is your master variable. Excess water dilutes the cement paste, weakens it, and increases drying shrinkage. To hit a target dry density, you calculate your mix design with a tight w/c ratio, then use the foam volume to introduce the precise amount of air for lightness. Think of it this way: cement and water create the glue. Foam creates the gaps. You need the right amount of both.
Correcting Common Density Problems
Low Density Issues: Shrinkage and Cracking
If your fresh density is too low, you have too much air. The cement matrix becomes thin and filamentous. It cannot resist tensile stresses during drying. The result? Plastic shrinkage cracks, curling edges, and a weak surface. The fix is to adjust your foam generator settings-reduce the air flow or increase the foam concentrate dosage-to produce a wetter, more stable foam with smaller bubbles.
High Density Issues: Weight and Cost
Density creeping too high means you’re wasting material. You’re paying for extra cement and aggregate to achieve a weight you didn’t need. The thermal performance will also suffer. Cheque your foam generator for blockages or low surfactant concentration. The foam might be collapsing before it’s mixed in.
Your Field Quality Control Procedure
- Pre-Pour: Test your foam source with a pressure meter per ASTM C796. Adjust the generator for fine, stable bubbles.
- First Load: Perform a container density test on the fresh concrete. Calculate the wet density.
- Ongoing: Test density every 5-10 loads, or at a minimum, at the start of every hour of continuous pouring.
- Record: Log every result against the target range. A trend is more telling than a single point.
Consistency is everything. Small, frequent adjustments at the foam generator beat a major correction halfway through the pour.
Interpreting Results and Ensuring Compliance
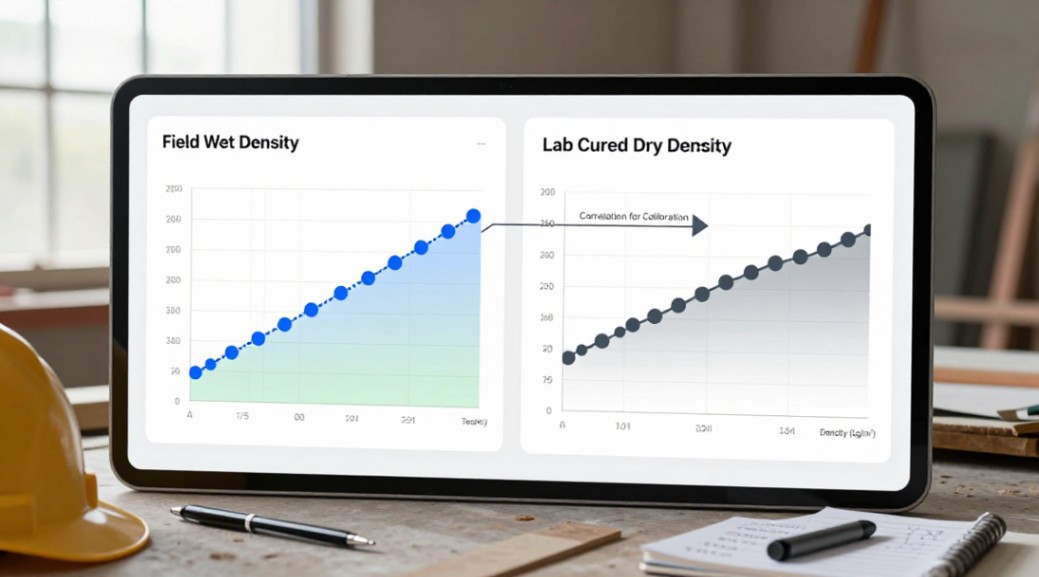
Your test numbers are not just for a report. They are a diagnostic tool. Is the wet density consistently at the low end of the spec? Your foam volume might be drifting high. Is it erratic? Your mixing time or water batching could be inconsistent. Compare your field wet density results with lab-cured dry density samples. This correlation over time will calibrate your entire operation, allowing you to confidently meet the project’s specifications for strength, weight, and stability.
Mastering foam density testing for concrete stability turns uncertainty into confidence. It transforms you from hoping the mix is right to knowing it is. Start with the simple container test on your next pour. Get a feel for the process. That hands-on data is your first, most powerful step toward flawless, stable lightweight concrete. For projects demanding the highest precision, consider integrating a digital foam testing system into your QC routine-it automates the pressure metre method, giving you a numerical stability index in seconds and removing operator guesswork.
We are the global leader in lightweight concrete and advanced engineered foam solutions. Known globally for its commitment to research, innovation, and applied expertise, we have been providing engineered foam solutions since the early 2012’s.
We can supply high-quality concrete admixture and foam concrete related products all over the world.
The company has a professional technical department and quality supervision department, a well-equipped laboratory, and equipped with advanced testing equipment and after-sales customer service center.
If you are interested, please feel free and contact us.