Professional solutions on concrete addtives, Concrete Foaming Agent, Superplasticizer, CLC Blocks Additives, and foaming machine

Forget Non-Shrink Grout: The Unconventional Truth About Expansive Cement for Lasting Fixations
A $50,000 Crack That Changed My Mind
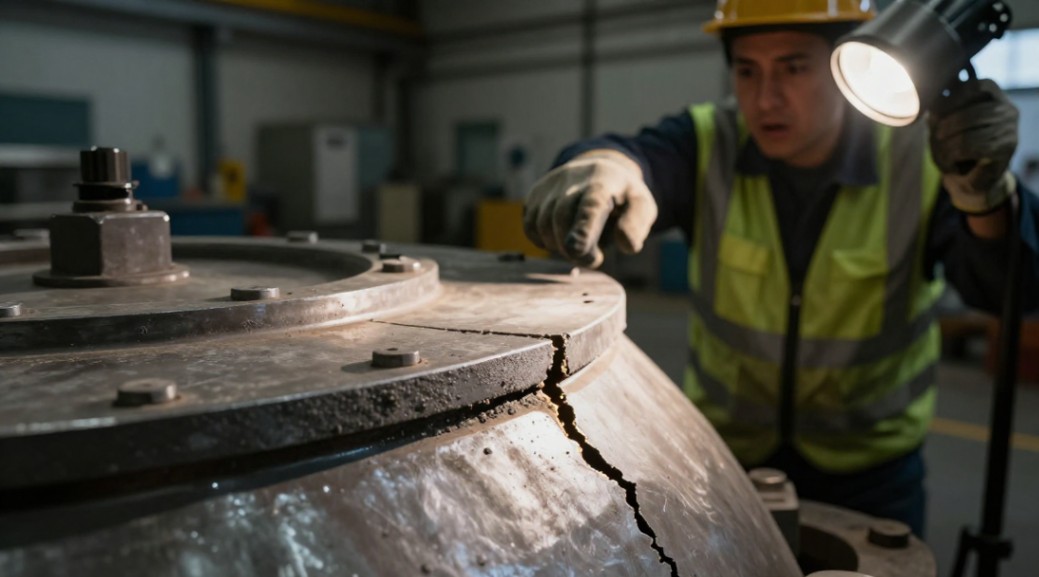
Early in my career, I watched a “non-shrink” grout fail spectacularly. A critical turbine baseplate, grouted with the industry-standard material, developed a 3mm gap after curing. The vibration analysis report was brutal. Realignment costs soared past $50k. That day, I stopped trusting products that merely resist shrinkage. I started demanding materials that fight back. That material is expansive cement for grouting and shrinkage compensation.
Why “Non-Shrink” is a Marketing Lie
Let’s be blunt. Most non-shrink grouts are just low-shrink grouts with fancy additives. They rely on high water content and rheology to minimize air entrapment. Their goal is to not pull away from the substrate. It’s a defensive, flawed strategy. Expansive cement grout operates on offense. Its core mechanism is a controlled chemical expansion that actively generates pressure, ensuring positive contact and pre-stressing the embedment. Think of it as active tension versus passive slack.
- Traditional Grout: Minimizes volume loss. Goal: Zero gap.
- Expansive Cement Grout: Creates controlled volume gain. Goal: Positive bearing pressure.
Where Expansive Cement is Non-Negotiable
Don’t use this everywhere. That’s wasteful. Use it where failure is catastrophic.
1. Anchor Bolts & Load-Bearing Columns
This is the primary application. The expansion locks the bolt rod or column base in a state of permanent, uniform confinement. It eliminates the need for late-stage re-torquing.
2. Precision Machinery & Turbine Baseplates
Any high-vibration, dynamic load application. The pre-compression from the shrinkage compensation dampens vibration transmission and prevents fretting corrosion.
3. Critical Expansion Joints & Construction Joints
Not all joints, but the ones you can’t afford to reseal. The grout expands to fill the void completely, creating a monolithic, load-transferring section.
The Step-by-Step Guide: How to Harness Controlled Expansion
Mixing this material like standard grout guarantees failure. Follow this sequence religiously.
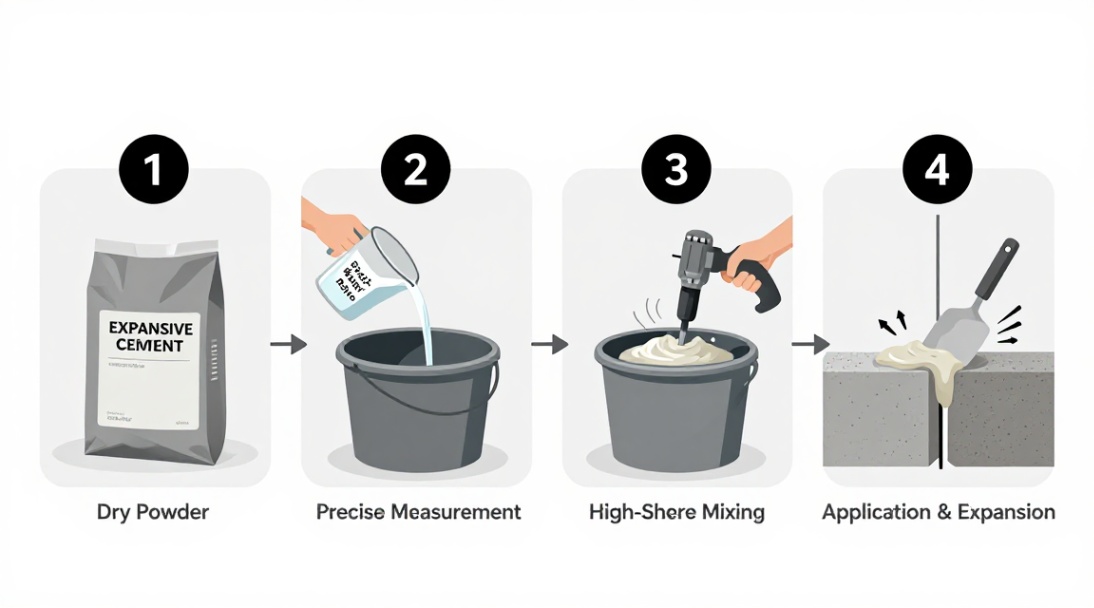
Step 1: Substrate Preparation – This is 70% of Success
- Clean to a SSPC-SP 2/NACE No. 2 standard (Near-White Metal Blast). No rust, no laitance, no oil.
- Saturate the substrate with water for 24 hours prior. Remove all standing water 1 hour before placement. The surface must be SSD (Saturated Surface Dry).
- Formwork must be absolutely watertight and rigid. The expansion will test every seam.
Step 2: The Mix – Precision Over Convenience
- Use a forced-action paddle mixer. A drill and paddle will not achieve homogeneity.
- Mix for the full duration specified on the technical data sheet, usually 5-7 minutes. Time it.
- Use only the amount of potable water specified. Adding 5% extra water can reduce expansion by 50%.
Step 3: Placement & Consolidation – No Second Chances
- Place the grout in continuous, horizontal lifts no greater than 12 inches (300mm).
- Consolidate each lift with a vibrating poker. The goal is zero entrapped air, not just levelling the surface.
- Maintain a positive head pressure to assist flow. Do not let it free-fall more than 5 feet.
Step 4: Curing – The Expansion Clock is Ticking
This is the critical phase. Expansion begins within 1-3 hours and is largely complete in 24-72 hours.
- Immediately after finishing, cover with wet burlap and polyethylene sheeting.
- Keep it continuously moist for a minimum of 72 hours. Letting it dry during this period strangles the expansion reaction.
- Do not apply load or remove forms for at least 3 days, or as per the manufacturer’s specification for the specific expansive cement for grouting you selected.
Specification & Troubleshooting: The SME Cheat Sheet
Look for these project spec clauses. Avoid these common errors.
Key Specs to Demand
- Expansion Value: 0.1% to 0.3% post-hardening expansion (per ASTM C827/C827M).
- Compressive Strength: > 7,000 psi (50 MPa) at 28 days.
- Flow: 24-30 inches (600-750mm) per ASTM C1437. Too high means excess water; too low means poor consolidation.
Fixing Common Failures
Problem: Insufficient expansion, gaps at the top of the pour.
Cause: Improper curing (dried out) or over-mixing, causing heat buildup.
Fix: There is no fix. You must remove and replace. Prevention is the only cure.
Problem: Delayed cracking (after 28 days).
Cause: Over-expansion due to excessive cement content or contaminated mixing water.
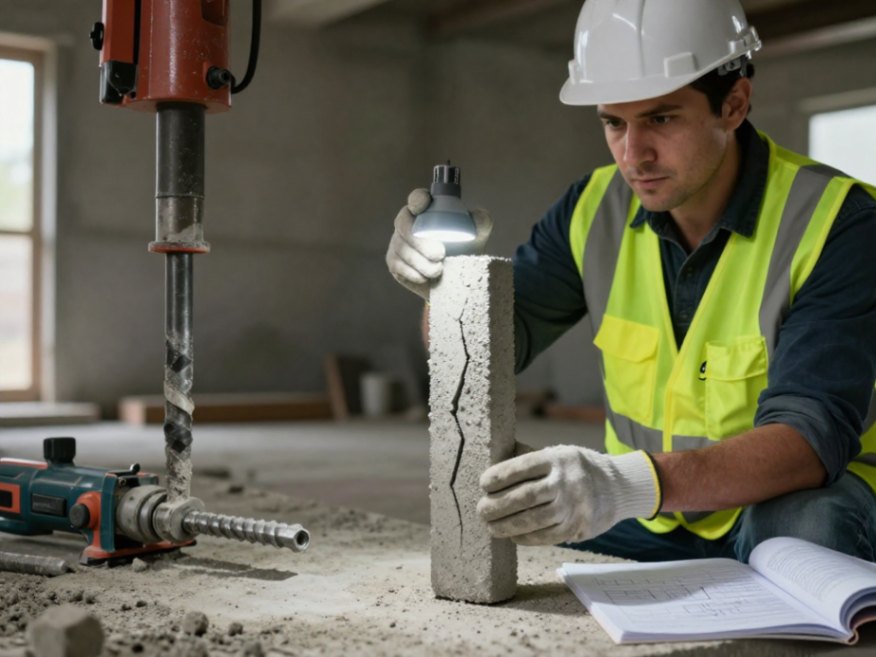
Fix: Core test to assess internal damage. Consult a structural engineer.
Moving Beyond Theory
The principle is simple: active force beats passive hope. The execution is everything. Don’t experiment on a multi-million dollar foundation. Start with a controlled test. Source a high-quality expansive cement for grouting and shrinkage compensation from a manufacturer that provides full chemical expansion curves, not just marketing claims. Run a mock-up pour. Measure the expansion yourself. Feel the pressure it generates. Then, and only then, specify it with the confidence that comes from proof, not promise.
We are the global leader in lightweight concrete and advanced engineered foam solutions. Known globally for its commitment to research, innovation, and applied expertise, we have been providing engineered foam solutions since the early 2012’s.
We can supply high-quality concrete admixture and foam concrete related products all over the world.
The company has a professional technical department and quality supervision department, a well-equipped laboratory, and equipped with advanced testing equipment and after-sales customer service center.
If you are interested, please feel free and contact us.