Professional solutions on concrete addtives, Concrete Foaming Agent, Superplasticizer, CLC Blocks Additives, and foaming machine

The 5 Costly Mistakes Everyone Makes Testing Foam Density for Concrete Stability (And How to Avoid Them)
The Data Trap: Why Your Assumptions About Foam Density Are Wrong
A single, unverified assumption can collapse an entire project. Consider this: a deviation of just 5% from the target wet density can reduce the 28-day compressive strength of structural foam concrete by 15% or more. This is not a minor tolerance issue. It is a direct path to structural failure, cracking, and costly remediation. The primary cause is flawed testing foam density for concrete stability. Every batch must pass this checkpoint. Ignore it at your peril.
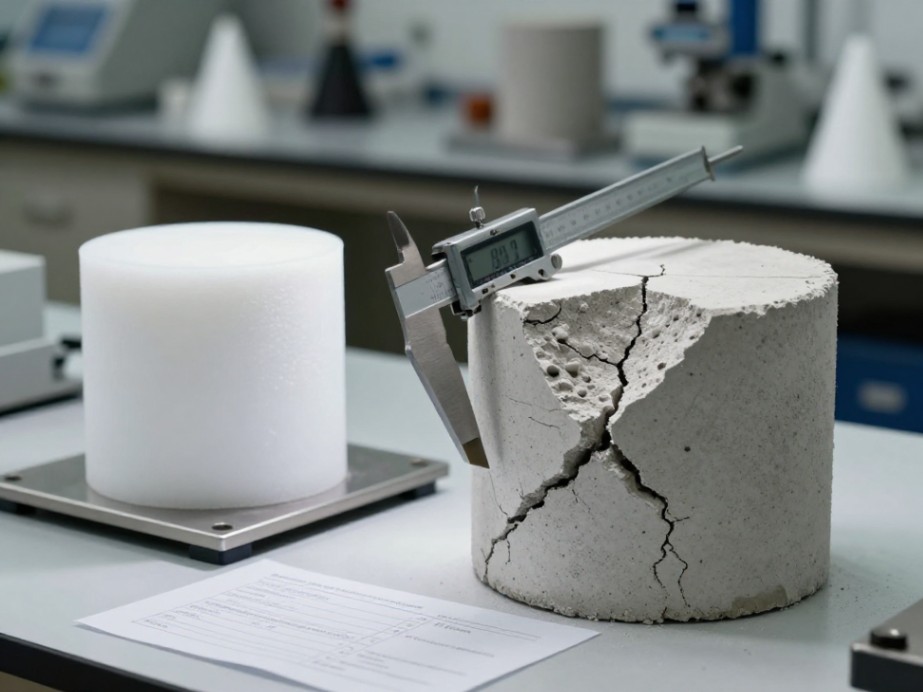
The Foundation: Understanding Density’s Role in Concrete Stability
Foam concrete is an engineered system of air, cement, water, and sometimes fines. Its core properties—strength, weight, thermal resistance—are not independent. They are all functions of one master variable: density. Get this wrong, and you compromise the entire design intent.
- Density Dictates Weight. The final mass per cubic meter (kg/m³) of your slab or block is a direct function of the fresh (wet) density. An error here affects dead loads, transportation costs, and structural design.
- Density Drives Strength. There is an inverse, non-linear relationship between density and compressive strength. Lower density means higher air content, which inherently reduces the load-bearing matrix. The correlation is precise and unforgiving.
- Density Defines Insulation. Thermal resistance (R-value) is directly proportional to air content. Achieving the specified insulation value requires hitting a specific, narrow density range. Miss it, and the building’s energy performance suffers.
5 Critical Errors in Testing Foam Density for Concrete Stability
These are the most common, consequential mistakes observed over decades. Recognize and eliminate them from your process immediately.
1. Using the Wrong Container for Wet Density Measurement
The wet density cup is not a suggestion. It is a calibrated scientific instrument. Using buckets, pails, or uncalibrated containers introduces massive volume errors.
- DO NOT use containers of unknown volume. Even a 0.5-liter error in a 10-liter sample creates a 5% density calculation error.
- DO use a rigid, non-absorbent, calibrated container with a known volume between 5 and 15 liters. The most common standard is a 1-liter or 5-liter cup, precisely machined.
2. Neglecting to Calibrate for Foam Breakdown
Foam is not a static liquid. It begins to break down the moment it is generated. Measuring its density five minutes after generation will give a different, lower reading than measuring it immediately.
- DO NOT assume the foam density from the generator is constant. The stability of the foam (its resistance to drainage and coalescence) directly impacts the air content in the final mix.
- DO standardize your timing. Fill your calibrated container within 60 seconds of foam generation for consistent, comparable results. Record this time as part of your quality control log.
3. Failing to Execute the Volumetric Method Correctly
This is the core procedure. Rushing it guarantees incorrect data.
Follow this exact sequence:
- Weigh the empty, dry calibrated container. Record the mass in grams (g). This is your tare weight (W1).
- Completely fill the container with freshly generated foam. Use a trowel or plate to strike off the foam level with the rim. Do not compact, tap, or vibrate the container. This introduces error by collapsing the bubbles.
- Weigh the filled container immediately. Record the mass in grams (g). This is your gross weight (W2).
- Calculate the net foam mass: W2 – W1 = Net Mass (g).
- Calculate foam density: (Net Mass in g) / (Container Volume in ml) = Foam Density in g/ml. Multiply by 1000 to get kg/m³.
4. Ignoring the Target Density Ranges for Your Application
There is no universal “good” density. The correct value is defined by the project specifications.
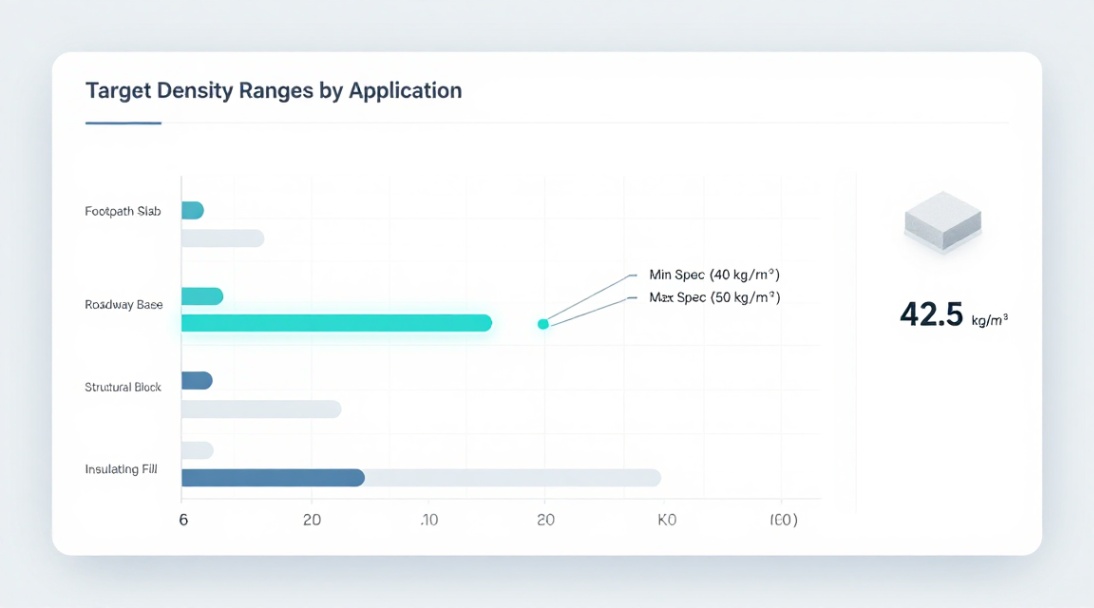
| Application | Typical Target Wet Density Range (kg/m³) | Critical Parameter Affected |
|---|---|---|
| Structural Slabs & Walls | 1200 – 1600 | Compressive Strength, Load-Bearing |
| Non-Load Bearing Blocks | 800 – 1100 | Dead Load, Thermal Insulation |
| Roof Insulation & Void Fill | 400 – 800 | Thermal Resistance (R-value), Flowability |
Your mix design must be adjusted—by varying the foam dosage rate—to hit the precise target for your application. Guessing is not an option.
5. Treating Density as a One-Time Check, Not a Continuous Control
Foam generation is a process, not an event. Machine settings drift, ambient temperature and humidity affect foaming agents, and raw material batches vary.
- DO NOT test one batch at the start of the pour and assume consistency for the next eight hours.
- DO implement a statistical process control (SPC) schedule. Test density at the start of the pour, after every major equipment adjustment, and at a minimum interval (e.g., every 50 cubic meters or every 2 hours). Plot the results to identify trends.
The Path to Reliable Stability: Your Corrective Action Protocol
When your testing foam density for concrete stability reveals a value outside the specified tolerance, you must act. This is your logical decision tree.
If Measured Density is TOO HIGH: The foam content is too low. You have insufficient air entrainment. This leads to heavier weight, reduced insulation, and potential over-strength (which can be a problem for saw-cutting or nail penetration).
- Action: Increase the foam dosage rate into the slurry mix. Re-test the density after adjustment. For consistent on-site control, consider using equipment with automated foam dosing systems that directly link foam injection to the target density, ensuring batch-to-batch uniformity.
If Measured Density is TOO LOW: The foam content is too high. You have excessive air. This directly and dangerously reduces compressive strength and can lead to segregation and a weak, friable matrix.
- Action: Decrease the foam dosage rate immediately. Verify the foam generator is producing stable, consistent bubbles and that the foaming agent concentration is correct.
The Logical Conclusion: Density is Your Ultimate QC Checkpoint
Testing foam density is the single most effective quality control measure for foam concrete. It is fast, inexpensive, and provides immediate, actionable data. It quantifies the air content, which dictates every major performance characteristic. Make this test the non-negotiable gatekeeper for every truckload, every panel, every block. Your project’s stability depends on it.
Begin by auditing your current process against these five critical errors. Procure a properly calibrated density cup and train your crew on the exact volumetric method. Then, integrate these targeted density checks into your daily pour logs. This disciplined, data-driven approach transforms testing foam density for concrete stability from a paperwork exercise into the primary safeguard for your project’s structural and thermal integrity.
We are the global leader in lightweight concrete and advanced engineered foam solutions. Known globally for its commitment to research, innovation, and applied expertise, we have been providing engineered foam solutions since the early 2012’s.
We can supply high-quality concrete admixture and foam concrete related products all over the world.
The company has a professional technical department and quality supervision department, a well-equipped laboratory, and equipped with advanced testing equipment and after-sales customer service center.
If you are interested, please feel free and contact us.