Professional solutions on concrete addtives, Concrete Foaming Agent, Superplasticizer, CLC Blocks Additives, and foaming machine

How to Execute a Flawless Cold Weather Concrete Pour: The Early Strength Admixture Playbook
Stop Fighting the Cold and Start Accelerating Your Schedule
An early strength concrete admixture for cold weather compensates for temperature’s crippling effect on the hydration reaction, generating heat and strength faster. That’s the simple answer. The industry’s obsession with generic ‘winter concreting’ methods is costing you time and money. Relying solely on insulation and external heat is a reactive, expensive battle. Using an accelerator is a proactive, chemical-level solution. This guide provides the logical, actionable steps to use it correctly. Forget what you’ve heard. Let’s start with how cold weather breaks concrete.
Why Concrete Hates the Cold (And What to Do About It)
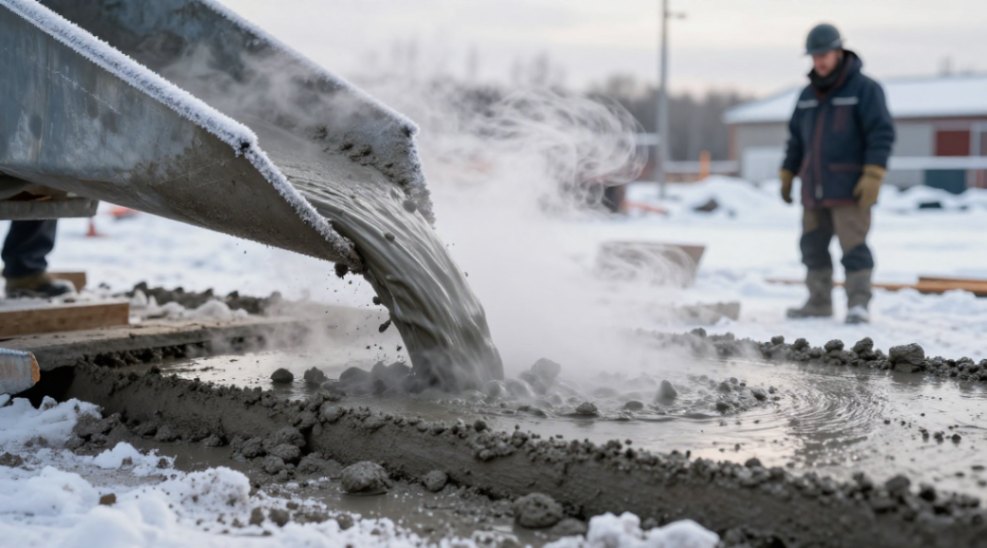
Cold weather doesn’t just slow concrete down; it fundamentally alters the chemistry. For every 10°C drop in temperature below 20°C, the rate of strength gain roughly halves. Water freezes at 0°C, but damage begins above freezing. Below 5°C, hydration becomes sluggish. Below 0°C, unreacted water expands as it freezes, creating internal pressure that permanently damages the immature paste matrix. The traditional response? Enclosures, heaters, thermal blankets. This treats the symptom, not the disease. It’s inefficient. An early strength admixture attacks the core problem: it speeds up the chemical reaction itself, generating internal heat and creating a robust structure before freezing can occur.
How Early Strength Admixtures Actually Work
These aren’t magical potions. They are precise chemical tools. The primary active components are typically calcium chloride (CaCl2) or non-chloride accelerators based on nitrates, nitrites, or thiocyanates. Chloride-based accelerators are highly effective but introduce corrosion risk for embedded steel. Non-chloride accelerators are the default for reinforced concrete. Their function is logical: they increase the ionic concentration in the mix water, which dramatically accelerates the dissolution of cement compounds (like C3S) and the subsequent precipitation of calcium silicate hydrate (C-S-H) gel. In short, they kick-start and supercharge the reaction that provides strength.
The Step-by-Step Execution Guide
Using an accelerator is not ‘just adding a liquid.’ It’s a disciplined process. One misstep wastes the admixture and jeopardizes the pour.
1. Pre-Pour Planning and Temperature Assessment
First, define your target. You need a minimum ‘protection period’ temperature. This is not the air temperature. This is the temperature of the concrete itself. Monitor ambient forecasts and the temperature of your materials (aggregates, water). Your goal is to maintain the concrete above 5°C for the first 48 hours. The admixture buys you time and safety, but it does not replace basic temperature management of materials.
2. Precise Dosage Calculation and Batching
This is the most critical step. Dosage is always a percentage by weight of cementitious materials (cement, fly ash, slag). Never by volume of concrete. Typical ranges are 1% to 2% for non-chloride types. You must know your total cement weight. Example: For a mix with 400 kg of cement and a specified dosage of 1.5%, you require 6 kg of admixture. Always add the accelerator to the mix water or with the initial batch water in the drum. Never add it directly to dry cement or at the end of mixing.

3. Mixing and Placement Protocol
Ensure mixing time is extended by a minimum of 15% to guarantee uniform dispersion. The mix will feel ‘hotter’ and set quicker. Communicate this to the crew. You have a reduced window for placement and finishing. Place the concrete immediately. Do not allow mixed concrete to sit in the truck drum. The accelerated reaction has started; delays cause stiffening and placement problems.
4. The Non-Negotiable Curing Step
This is the industry’s biggest mistake. An accelerator is not a curing substitute. It gets you to initial strength faster, but proper hydration still requires water and retained heat. Immediately after finishing, apply a curing compound or cover with wet burlap and polyethylene sheeting. Then, insulate. The accelerated heat generation is an advantage; trap it with blankets or insulated formwork. Curing must continue for a minimum of 3 days in cold conditions, even with an accelerator.
| Step | Key Action | Critical Check |
|---|---|---|
| 1. Planning | Determine concrete temperature target (>5°C). | Measure aggregate & water temp, not just air temp. |
| 2. Dosage | Calculate based on cement weight (e.g., 1.5%). | Verify cement content in mix design. Never guess. |
| 3. Batching | Add admixture to mix water in drum. | Do NOT add neat admixture to dry materials. |
| 4. Mixing | Increase mixing time by >15%. | Observe concrete consistency upon discharge. |
| 5. Placement | Place and consolidate rapidly. | Coordinate crew for faster finishing. |
| 6. Curing | Apply membrane or wet cover + plastic + insulation. | Begin curing immediately after final finish. |
Why This Beats Old-School Methods
Compare the logic. Traditional method: Heat thousands of cubic meters of air in a tent, fight heat loss, burn fuel, and still risk cold spots near the forms. Accelerator method: Generate heat chemically from within every cubic centimeter of the slab. It’s uniform. It’s efficient. It reduces enclosure time and allows earlier formwork stripping, directly accelerating the critical path schedule. The cost of the admixture is often offset by saved labor, fuel, and rental equipment for heating.
Precautions and Long-Term Impact
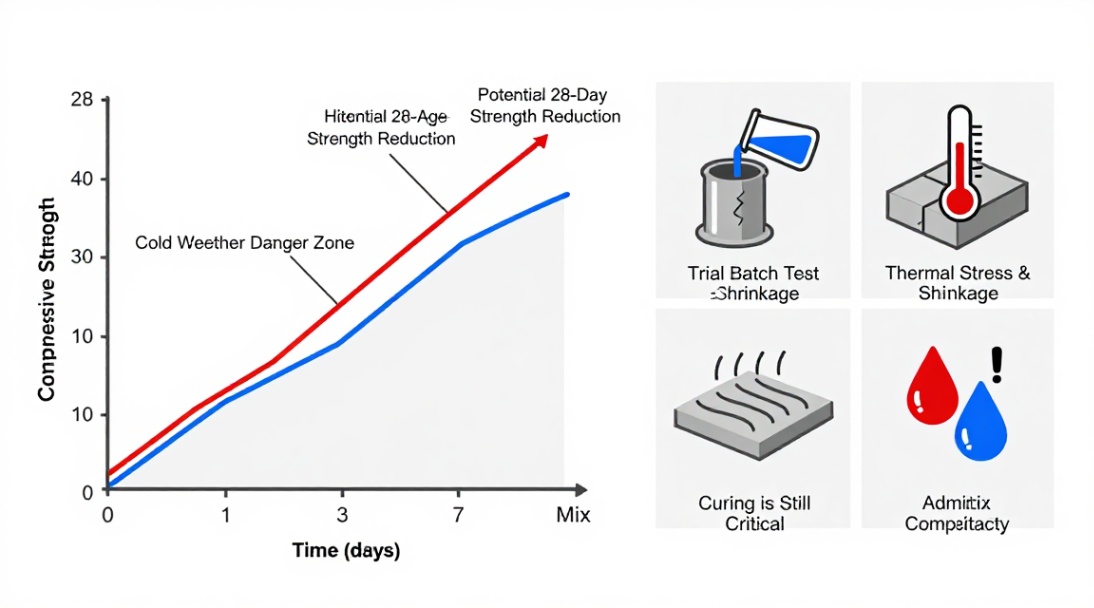
Accelerators are tools, not cure-alls. Understand their limits. They can slightly reduce 28-day ultimate strength if misdosed. They increase early-age thermal stress and shrinkage. Always conduct trial batches under simulated field conditions. Compatibility with other admixtures (like water reducers) is not guaranteed; test first. For long-term durability, the accelerated concrete must still be properly cured. A fast-strength concrete that dries out will be weak and permeable. The admixture gets you out of the danger zone fast; proper curing ensures you stay out.
The Final Logic: Your Next Move
The data is clear. For cold weather concreting, an early strength concrete admixture is the most logical first line of defense. It addresses the root cause. Your next step is not to buy a product. It’s to test the process. Take your specific mix design. Contact a technical representative, secure a sample, and run a plant trial. Compare set times and compressive strength at 12, 24, and 48 hours against your standard mix at 5°C. Let the results, not a sales brochure, dictate your specification. This is how you build faster, smarter, and with certainty when the temperature drops.
We are the global leader in lightweight concrete and advanced engineered foam solutions. Known globally for its commitment to research, innovation, and applied expertise, we have been providing engineered foam solutions since the early 2012’s.
We can supply high-quality concrete admixture and foam concrete related products all over the world.
The company has a professional technical department and quality supervision department, a well-equipped laboratory, and equipped with advanced testing equipment and after-sales customer service center.
If you are interested, please feel free and contact us.