Professional solutions on concrete addtives, Concrete Foaming Agent, Superplasticizer, CLC Blocks Additives, and foaming machine

The Contractor’s Secret: How Testing Foam Density for Concrete Stability Prevents Cracking & Failure
The Density Paradox: Why Lighter Foam Isn’t Always Better
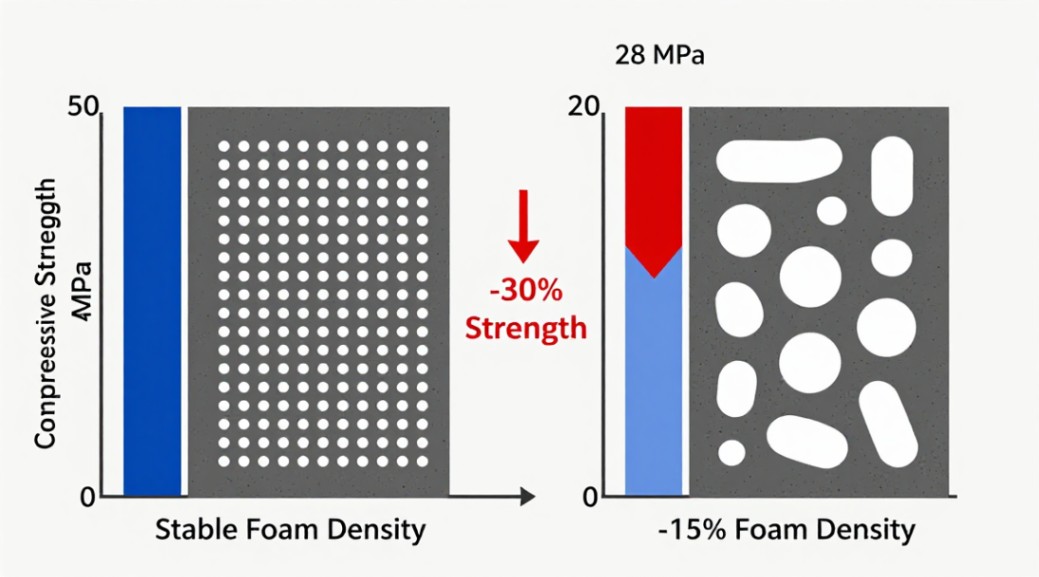
Think higher foam density means a heavier, weaker concrete block? Think again. In cellular concrete, the most stable, durable mixes often start with a denser foam. A 15% deviation in your foam density can slash the final compressive strength of the concrete by over 30%. That’s the hidden cost we miss. Let’s break down the exact process to control it.
Foam Density Q&A: Your Field Guide
What exactly is foam density, and why does it matter so much?
Foam density is the mass of your foam per unit volume, typically measured in grams per liter (g/L) or kilograms per cubic meter (kg/m³). It’s not about the foam liquid, but the air-bubble structure it creates. This number directly dictates the void structure in your concrete. Correct foam density gives you a stable skeleton of uniform, resilient bubbles. Incorrect density leads to bubble collapse, uneven air voids, and a mix doomed for shrinkage or low strength.
What equipment do I absolutely need for testing foam density?
You need two core items. First, a calibrated foam generator that produces consistent bubble size. Second, a known-volume container for the density test. We use a precise 1-liter (1000 cm³) container. You’ll also need a scale accurate to at least 1 gram.
Walk me through the step-by-step field test.
This is a fresh foam test, done right at the generator before it hits the mix. Follow this sequence.
- Prepare the Container: Weigh your empty, dry 1-liter container. Record this tare weight in grams (g).
- Generate and Fill: Run your foam generator until the foam is stable. Fill the 1-liter container completely. Use a straight edge (like a trowel) to scrape off excess foam flush with the rim. No compacting.
- Weigh the Full Container: Immediately weigh the container with the foam. Record this gross weight in grams (g).
How do I calculate the foam density?
The formula is simple, but precision is critical: Foam Density (g/L) = (Gross Weight – Tare Weight). Since your volume is 1 liter, the math is direct. If your gross weight is 65g and your tare weight is 15g, your foam density is 50 g/L. This is your wet foam density.
What’s the right target density for my project?
There’s no universal number. The target depends on your concrete mix design and required dry density. However, a general logic applies. For a lower-density insulating concrete, you might aim for a wet foam density of 40-60 g/L. For a higher-strength, semi-structural fill, you might need 70-90 g/L foam. You back-calculate from your required concrete density and the amount of foam you’re injecting. Always verify with trial batches.
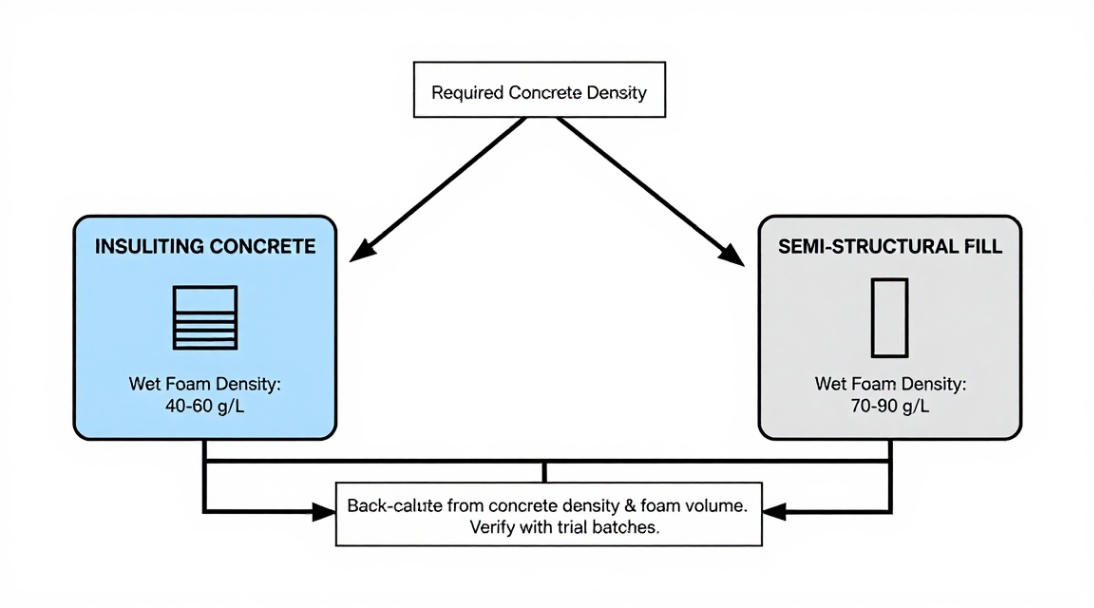
| Concrete Application | Typical Target Fresh Concrete Density (kg/m³) | Corresponding Foam Density Range (g/L) |
|---|---|---|
| Insulating Roof Fill | 300 – 500 | 40 – 60 |
| Lightweight Void Fill | 500 – 800 | 50 – 75 |
| Semi-structural Fill | 800 – 1200 | 70 – 95 |
What happens if the foam density is wrong?
Low foam density (too light) usually means oversized, unstable bubbles. They collapse during mixing and placing, leading to higher final concrete density than designed and increased shrinkage. High foam density (too heavy) often means tiny, water-logged bubbles. You won’t achieve the designed lightness, and strength can suffer from excess water. Both errors waste material and compromise performance.
How does foam density relate to final concrete density?
Think of wet foam density as the primary lever for fresh concrete density. The foam introduces controlled air. By accurately knowing the density and volume of foam added to a known base slurry, you can reliably predict the fresh density of the cellular concrete. It’s fundamental math. If this correlation is off, your entire mix design is off.
My foam keeps failing the test. How do I troubleshoot?
First, calibrate your generator. Check the air-to-solution ratio and nozzle for wear. Consistent bubble size is key. If density is too low, your foam is too wet or the surfactant dosage may be wrong. If foam collapses before testing, the surfactant may be incompatible or old. Document every test, adjust one variable at a time, and you’ll find the culprit.
Is this a one-time check or an ongoing process?
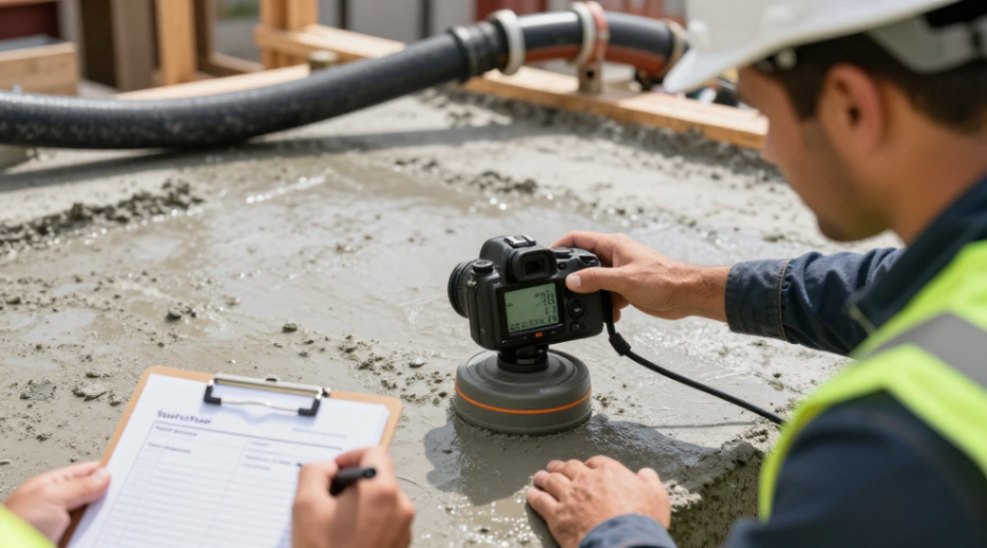
You must integrate foam density testing into a continuous quality control plan. Test at the start of the pour, after any mixer or generator adjustment, and at regular intervals. This consistency is what separates a successful project from a callback. Pair it with fresh concrete density checks for full control.
The Final Word: Stability Today Prevents Cracks Tomorrow
Testing foam density for concrete stability isn’t a paperwork exercise. It’s the frontline defense against shrinkage cracks and weak spots. That stable bubble structure you lock in during the pour directly translates to long-term durability. Consistent density testing is the habit of a pro. To make this process seamless, many teams use integrated systems where the foam generator’s output is calibrated and logged automatically, removing guesswork. The next step? Run this test on your next batch. See the difference precision makes.
We are the global leader in lightweight concrete and advanced engineered foam solutions. Known globally for its commitment to research, innovation, and applied expertise, we have been providing engineered foam solutions since the early 2012’s.
We can supply high-quality concrete admixture and foam concrete related products all over the world.
The company has a professional technical department and quality supervision department, a well-equipped laboratory, and equipped with advanced testing equipment and after-sales customer service center.
If you are interested, please feel free and contact us.