Professional solutions on concrete addtives, Concrete Foaming Agent, Superplasticizer, CLC Blocks Additives, and foaming machine

Foam Maker with Compressed Air System: How It Works, Setup Steps, and Superior Cleaning Power
What is a Foam Maker with a Compressed Air System?
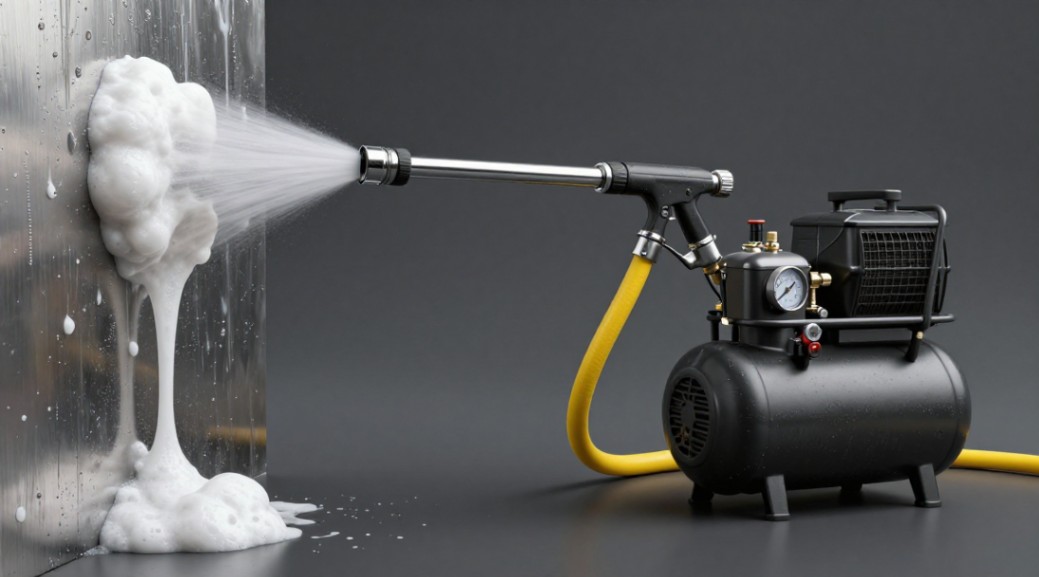
A foam maker with a compressed air system is an industrial cleaning tool. It uses an external air compressor to inject air into a concentrated chemical solution. This action creates a thick, wet, clinging foam. The foam adheres to vertical and overhead surfaces. This allows extended dwell time for chemicals to work, boosting cleaning power while reducing chemical and water usage by up to 70%.
How It Works: The Core Principle
The system does not use mechanical pumps or motors to create foam. Instead, it relies on the Venturi effect. High-pressure air flows through a constricted chamber. This creates a vacuum that siphons chemical concentrate from its container. The air and chemical mix violently inside the foam maker’s chamber. This turbulent mixing aerates the solution, transforming it into a stable foam as it exits the nozzle. Air pressure controls foam density. Higher pressure creates a drier, stiffer foam. Lower pressure yields a wetter, runnier foam.
Step-by-Step Setup and Operation Guide
Follow these steps precisely for safe, effective operation.
Step 1: Assemble Your Components
You need three main parts: an air compressor, the foam maker gun, and chemical tubing. Connect the air hose from your compressor to the foam gun’s air inlet. Connect a separate suction tube to the chemical inlet. Submerge the other end of this tube into your approved cleaning concentrate. Never use pure water.
Step 2: Configure Air Pressure
Start with your air compressor regulator set to 60 PSI. This is a safe baseline. Turn on the compressor and let it reach its full tank pressure. Adjust the regulator knob while watching the gauge. Set your desired working pressure, typically between 40 and 90 PSI. Higher pressure is for heavy-duty foam. Lower pressure is for lighter application.
Step 3: Adjust Chemical Pickup
Most foam makers have a chemical metering valve, often a knob or dial. Begin with it halfway open. Pull the gun trigger. Observe the foam consistency. If the foam is too watery and thin, open the chemical valve more. If the foam is too dry and dissipates quickly, close the valve slightly. Fine-tune until you achieve a shaving cream-like texture.
Step 4: Apply the Foam
Hold the gun 3 to 5 feet from the target surface. Use a steady, sweeping motion. Apply foam from the bottom up on vertical surfaces to prevent runs. Cover the area evenly. Let the foam dwell for the recommended time, usually 5 to 15 minutes. Do not let it dry completely.
Step 5: Rinse and Flush
After dwell time, rinse the surface with a pressure washer or hose. Then, flush the foam maker system. Place the chemical suction tube into a bucket of clean water. Run the foam maker for 30 seconds to clear all chemical residue from the internal passages. This prevents clogging and corrosion.
| Step | Action | Key Setting |
|---|---|---|
| 1. Assemble | Connect air hose & chemical tube. | Ensure tight fittings. |
| 2. Configure Air | Set compressor regulator. | Start at 60 PSI. |
| 3. Adjust Chemical | Turn metering valve. | Aim for shaving cream foam. |
| 4. Apply | Spray in sweeping motion. | Maintain 3-5 ft distance. |
| 5. Flush | Run clean water through system. | 30 second minimum. |
Critical Advantages Over Manual Systems
Forget manual pump sprayers. A compressed air foam system delivers professional results. First, foam quality is vastly superior. The foam is denser and clings longer. This gives your chemicals time to dissolve grease and grime. Second, you save chemicals. You apply a thick foam blanket, not a thin liquid that runs off. You use less product. Third, it is faster. You cover large areas like truck fleets, building facades, or industrial floors in minutes, not hours. Operator fatigue disappears.
Essential Components and Selection Criteria
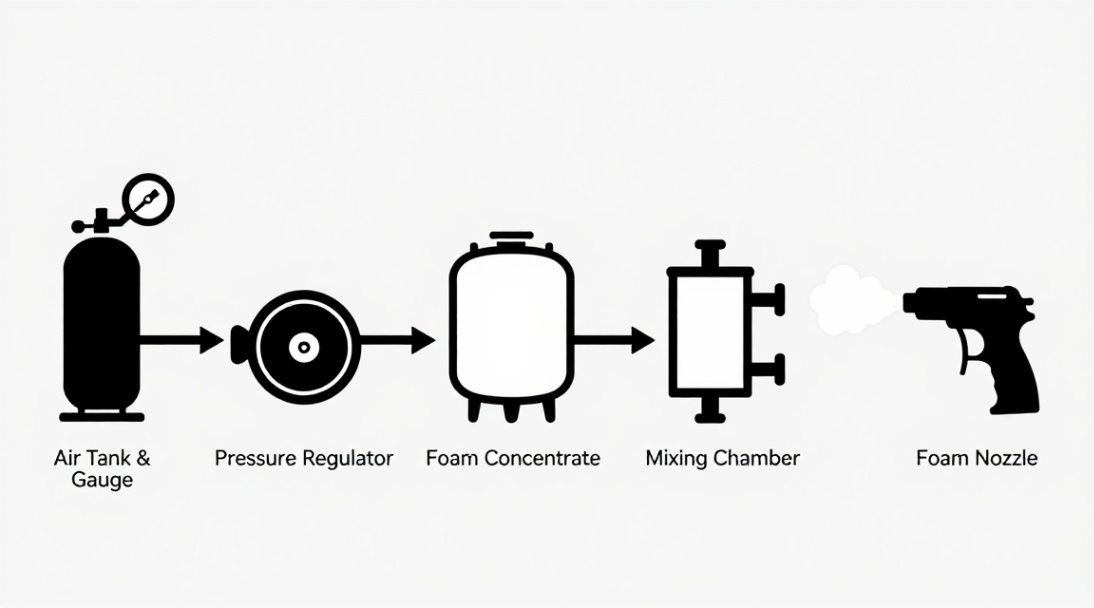
Your system is only as good as its parts. Understand these components.
The Air Compressor
This is the engine. Do not buy an undersized unit. You need consistent air volume, measured in CFM (Cubic Feet per Minute). Most industrial foam makers require 4 to 8 CFM at 60-90 PSI. A small “pancake” compressor will fail. Choose a compressor with a CFM rating higher than your foam gun’s requirement. A 20-gallon tank or larger is ideal for sustained use.
The Foam Maker Gun & Nozzle
The gun houses the mixing chamber. Look for brass or stainless steel construction. Plastic internals wear quickly. The nozzle determines foam pattern and expansion ratio. A adjustable nozzle is versatile. It lets you switch between a fan pattern for walls and a jet pattern for wheel wells. Ensure replacement parts are available.
Chemical Compatibility
Not all cleaners work. You need chemicals formulated for foam application. They contain surfactants that stabilize the bubbles. Standard degreasers may foam poorly or not at all. Always test a small batch first. Never use acids or chlorine-based chemicals unless the gun is specifically rated for them. They will destroy seals and metal.
Maintenance and Troubleshooting
Neglect guarantees failure. Follow this protocol.
Daily Maintenance
After every use, flush with clean water as described in Step 5. Disconnect the chemical tube and let it drain. Wipe down the gun. Check for leaks at all connections.
Weekly/Deep Cleaning
Every week, or when switching chemicals, perform a deep clean. Mix a solution of warm water and a mild detergent. Run it through the foam maker. Follow with a clear water flush. Inspect and clean the nozzle orifice with a soft brush. Never use metal picks.
Problem: Weak or Watery Foam
This is the most common issue. Cheque three things. First, is your air pressure sufficient? Increase to 70 PSI. Second, is your chemical metering valve open enough? Open it fully as a test. Third, is your chemical designed for foam making? Try a known foam-friendly chemical. If all three are correct, your mixing chamber may be worn and need replacement.
Problem: No Chemical Pickup
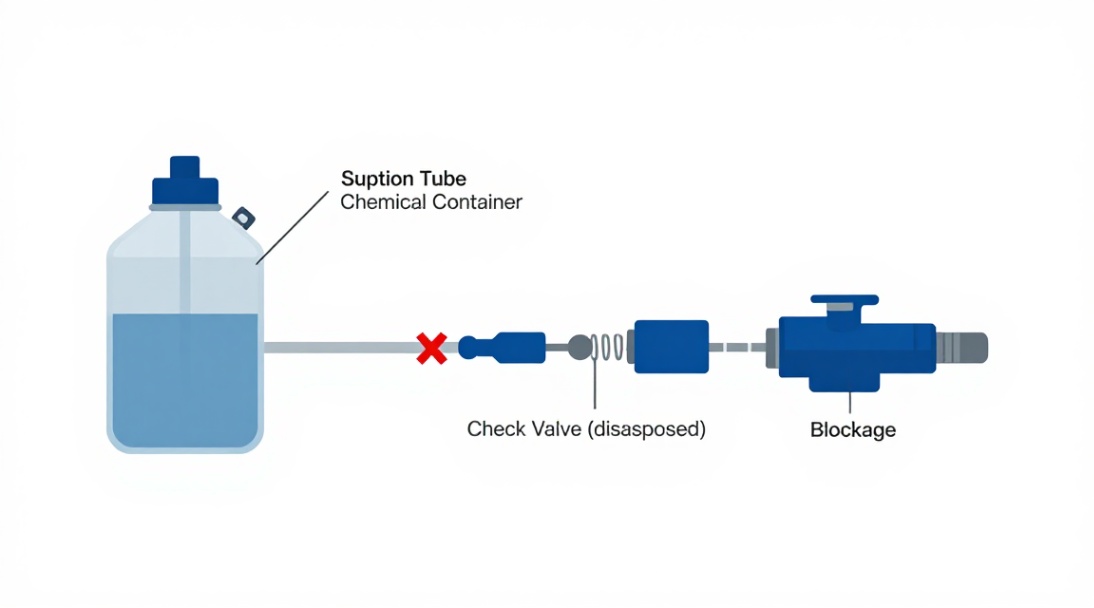
The gun sprays only air. The suction tube is likely blocked or not submerged. Check the tube for kinks. Ensure the end is fully in the chemical container. The check valve at the gun’s chemical inlet might be stuck. Disassemble and clean it according to the manufacturer’s instructions.
Final Recommendation: Your Next Step
Stop wasting time and money with inefficient methods. A professional foam maker with a compressed air system is a force multiplier for any cleaning operation. The initial investment pays for itself in chemical savings and labour reduction within months. Do not compromise on the compressor. Do not use incompatible chemicals. Master the setup steps outlined above. For commercial, fleet, or industrial cleaning, this is not just an option. It is the standard. Upgrade your process today. Your first project will prove the point.
We are the global leader in lightweight concrete and advanced engineered foam solutions. Known globally for its commitment to research, innovation, and applied expertise, we have been providing engineered foam solutions since the early 2012’s.
We can supply high-quality concrete admixture and foam concrete related products all over the world.
The company has a professional technical department and quality supervision department, a well-equipped laboratory, and equipped with advanced testing equipment and after-sales customer service center.
If you are interested, please feel free and contact us.